Wednesday 29 February 2012

Popplock T6

In January this year, I had reviewed the Popplock T3 and Popplock T5 in this blog. While sufficiently challenging, both the T3 and T5 were the two easiest of the Popplock series to solve. This is not to say they are easy; not at all, but easier than the rest. With the T6, the difficulty quotient seems to have gone up several notches. It took me a couple of weeks over a number of sessions before I managed to "crack" it open.


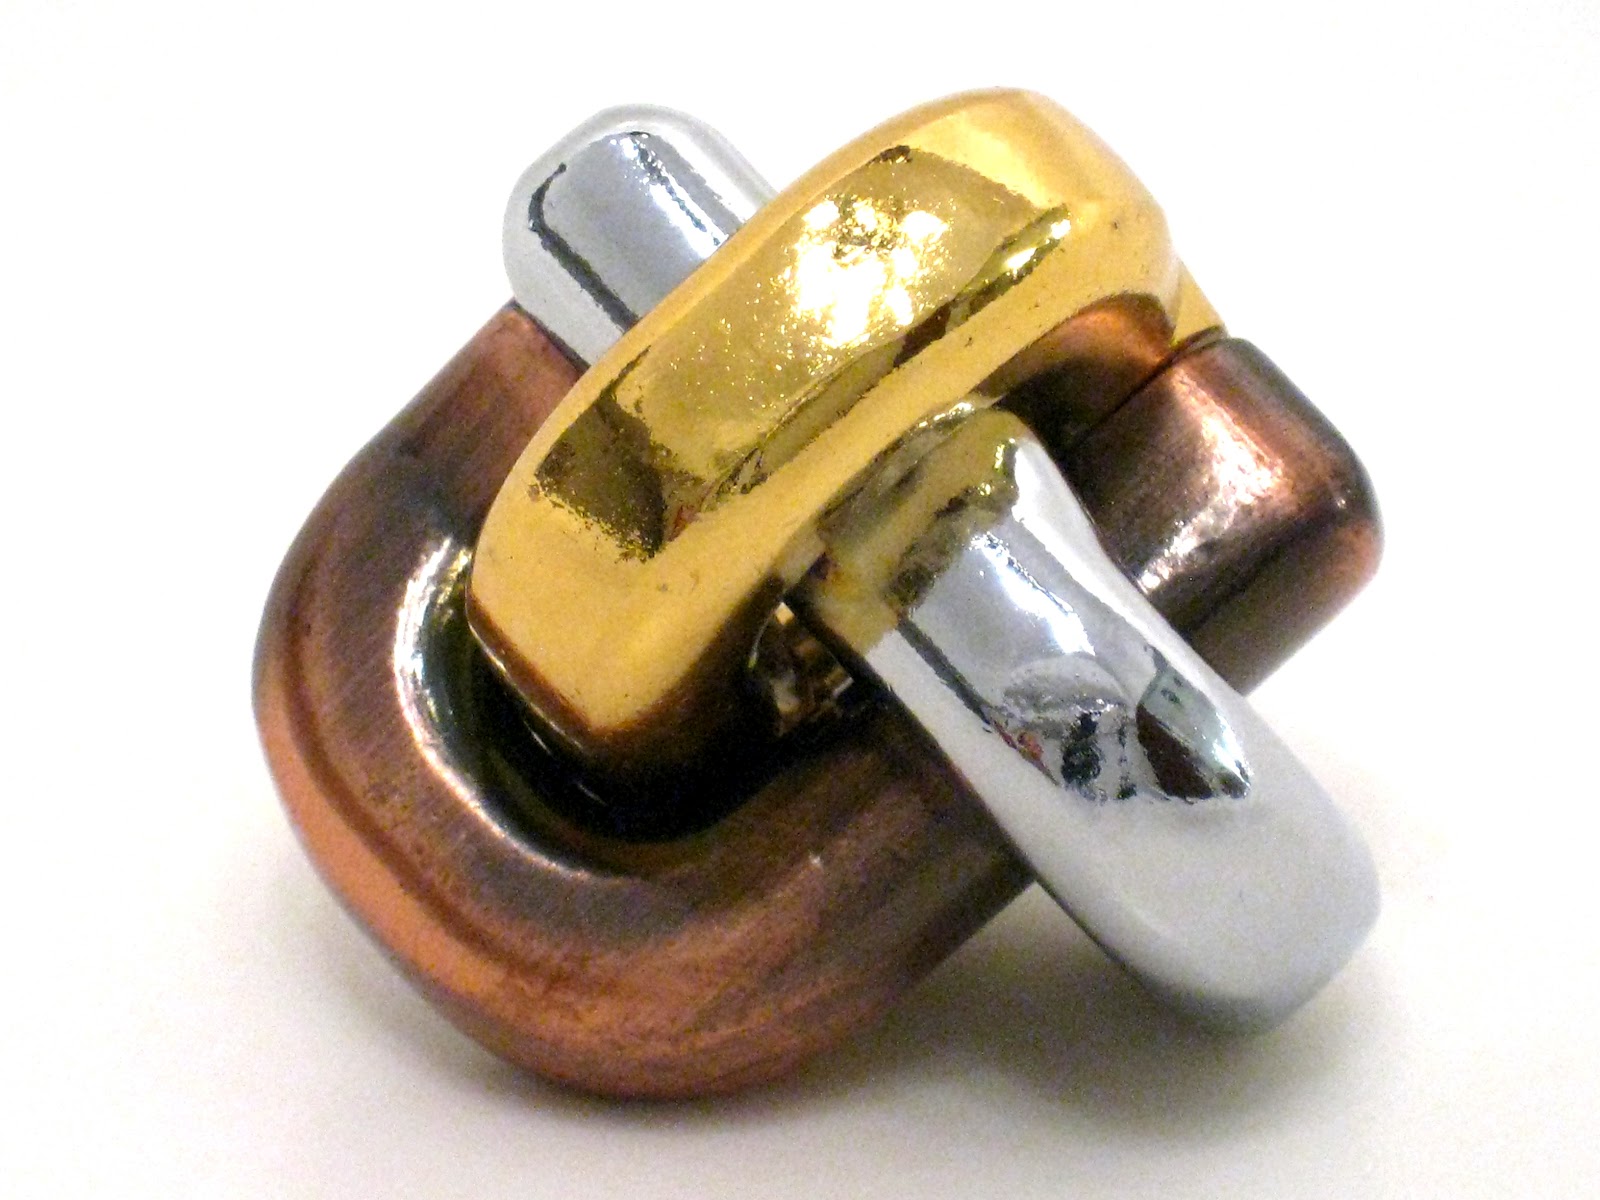
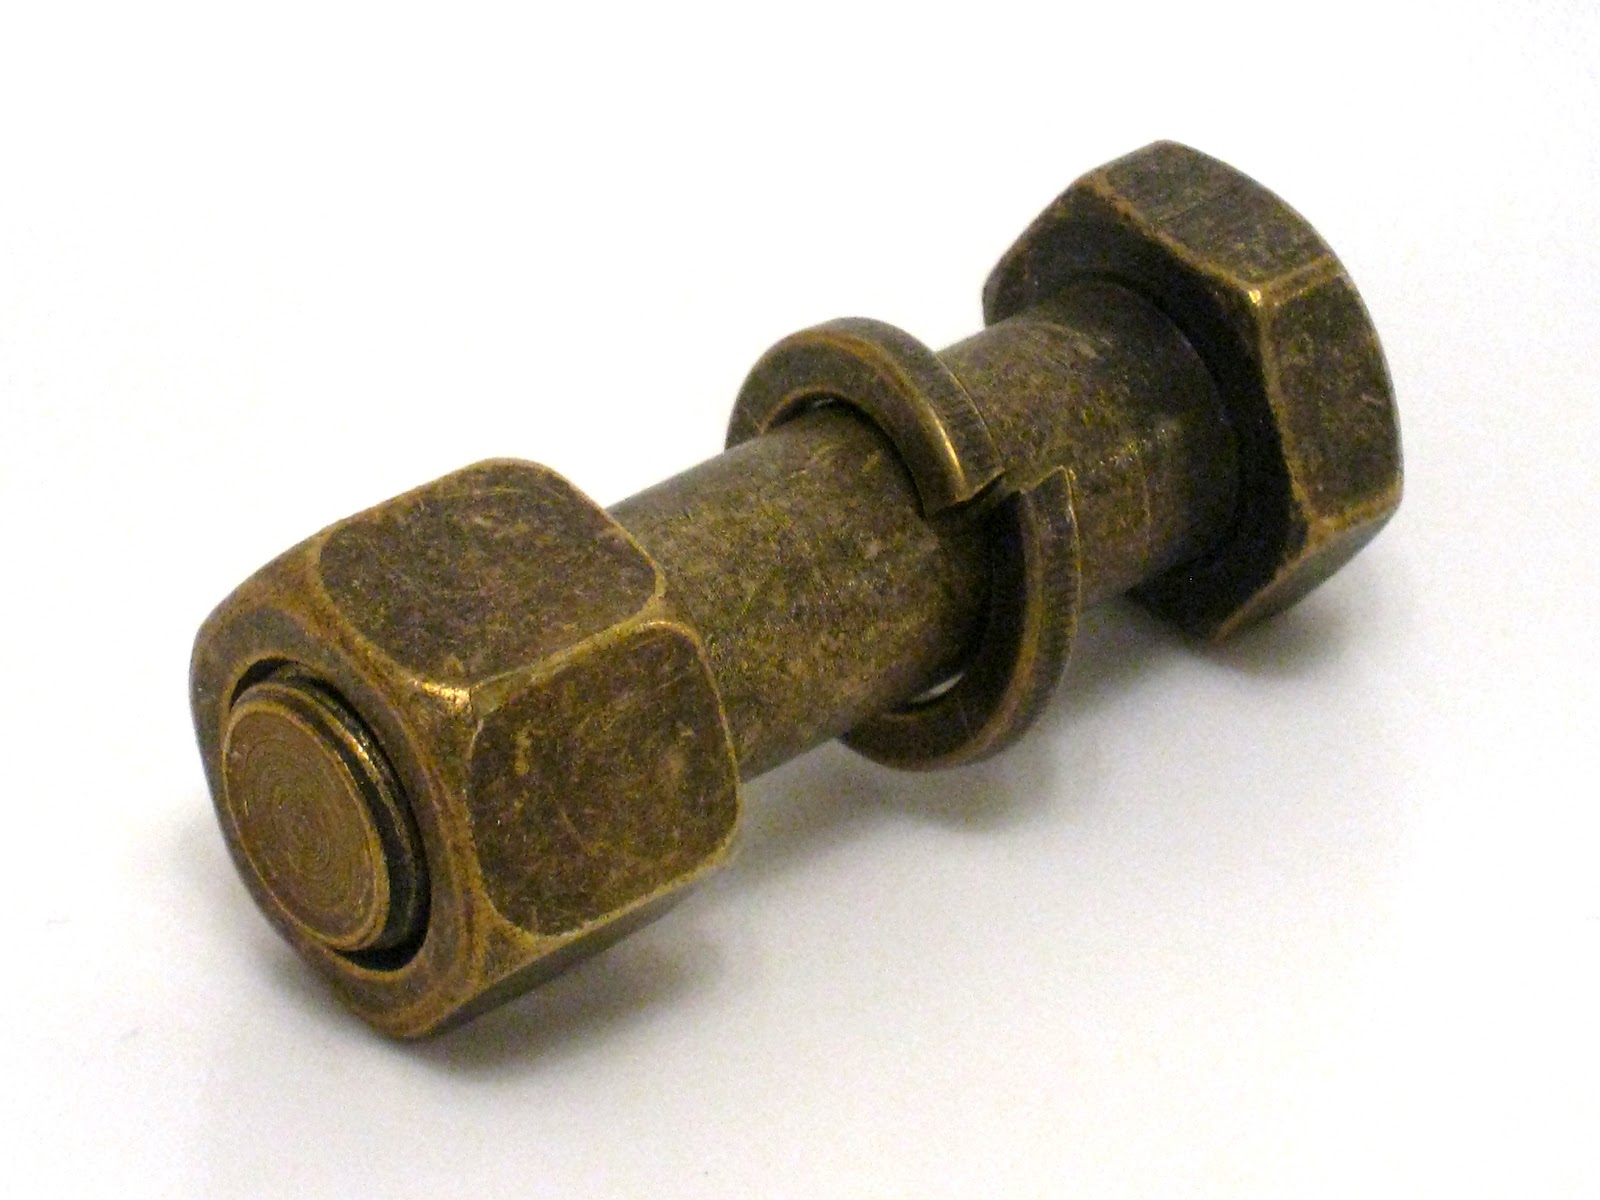
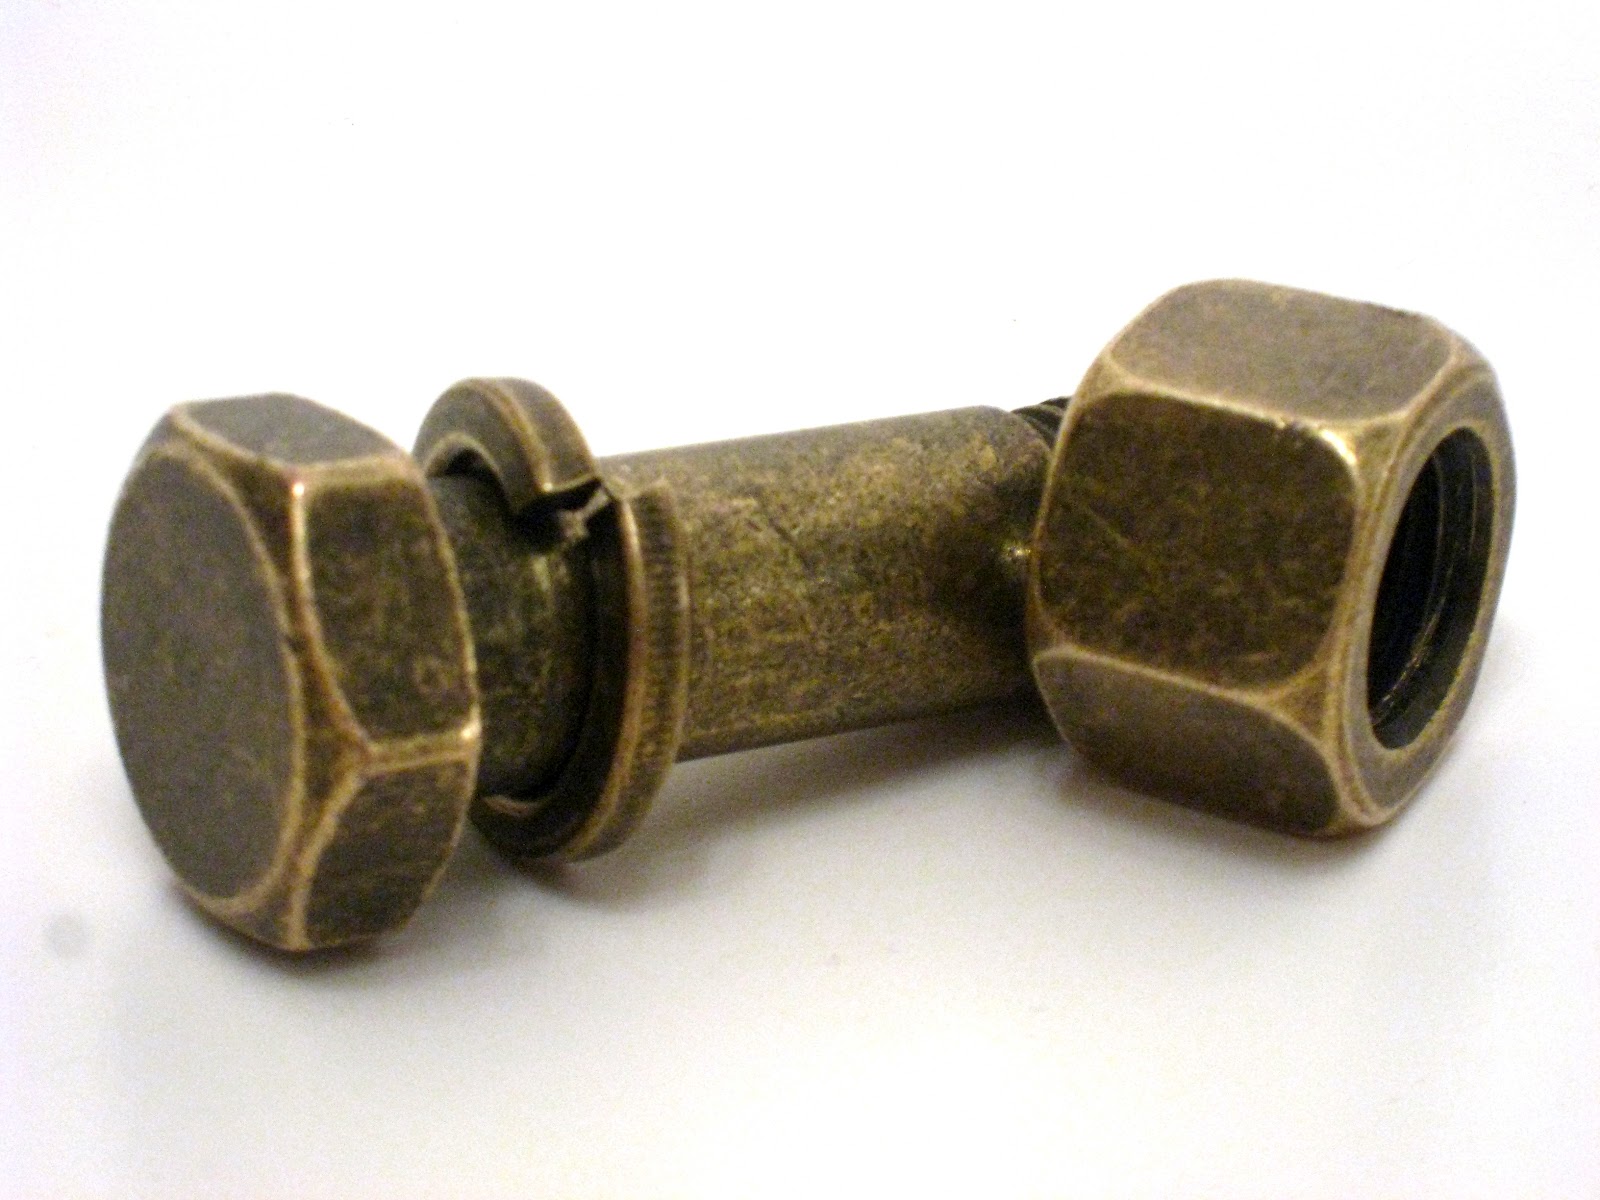
Measuring a diminutive 5cm x 4cm x 1.5cm in the locked position, the T6 is the smallest in the Popplock series and also the most affordable. The T6 is made of 4 layers of steel held together by rivets (here owners have a choice of copper or aluminium) to form the lock body. I chose the copper rivet version as I felt a contrast of colours gave the lock more character and uniqueness. The twin shackles are also formed from two thick layers of steel. All this is probably necessary to keep the cost down. The rest of the series from T1 to T5 is milled from a single block of brass (with the exception of the Limited Edition all-steel T2). While the T6 is a fraction of what it's larger siblings cost, there is no lacking in quality.

In the usual Rainer Popp style, the construction, fit and finish of the T6 is excellent. Despite its small size, the T6 still feels relatively hefty in the hand and probably serves its function as a normal lock just as well as a non-puzzle lock of similar dimensions.

Depending on how you count, there are a total of 5 or 6 steps to opening the lock. To those who are still struggling with the T6, the rivets do not play a part in the solving, neither does just simply inserting the key into the keyhole and trying to unlock it in the usual way. To solve it, you must turn the key in a certain way and in different directions. However, this will only get you to about the second last step of the solution. There is one final step which must be executed before the shackles can be released. This final step is totally unexpected for a puzzle of this nature. It really came as a real surprise to me when I eventually discovered it after my longish struggle with the T6. A very clever and usual mechanism indeed! Hint: there is a clue left by Rainer to give some indication how the shackles might be released but you have to study the T6 carefully.

Overall, a very challenging puzzle lock with a surprising twist at the end. If this is any indication of the increasing level of difficulty of the next two locks in the series I am going to attempt, ie the T2 and T4, well, I would have to hunker down for a long and arduous battle ahead....stay tuned for my review of the T2 after I have solved it!

Four other puzzlers have reviewed and given their thumbs up to this tiny lock which packs a quite a wallop. Do check out Neil's, Oli's, Allard's and Kevin's blogs for their take on it.

Saturday 18 February 2012

Knot Simple

The Knot Simple is another of Doug Engel's many interesting puzzle designs. I had reviewed his Great Collision in an earlier post. Measuring about 5cm x 5cm x 5cm, it consist of three interlocking U-shaped pieces. For an all-metal puzzle, it is really good value for money at only CS$9.99 from PuzzleMaster of Canada. My shipping charges to Singapore cost me twice as much  :-(


The puzzle pieces are entirely made of (what I think) is brass and each piece has been coated (or anodised) a different colour; gold, silver and copper. Quality and fit and finish for the price is surprisingly pretty decent. Although I have to say that once you play with the puzzle, rub marks start to form on the shiny surfaces...but then again, what do you expect for CA$9.99?

The object of the Knot Simple is to take apart the three interlocking pieces. This is "knot" that difficult. I managed to separate the three quite quickly; mainly through trial and error, fiddling and pulling each piece here and there, trying to figure what works. Putting the puzzle back together was also pretty easy, since there are only three pieces to work with. While the top photo appears to show a tightly fit unit, this is not really the case. When the puzzle is picked up, there is a fair amount of free-play between the pieces, hence don't expect the dis-assembly to be smooth and precise like that of a burr.


You may think that all the three pieces look identical, but not so. There are actually minor differences in the shape of each piece upon closer inspection. This because there is really an intended sequence to disengaging the pieces, although I didn't really know this at the time of solving, since I was just trying to move whichever piece that could move. Later as I checked the accompanying solution, I saw the sequence of dis-assembly and re-assembly which was in accordance with the colour of the pieces.

PuzzleMaster rates it at level 7 but I think its more a 6. There also appears to be a disparity between the printed copy of the solution and the puzzle itself; the colours assigned to the pieces in the diagram of the solution do not match the actual pieces of the puzzle. Either the diagram was wrongly printed or the pieces were coated with the wrong colours; I think its easier to change the former (NB: To the folks at PuzzleMaster, please take note).

Wednesday 15 February 2012

Havana's Box No 1

I was really lucky to get my hands on this last unit of Eric Fuller's Havana's Box No 1. I had missed out on the opportunity to purchase one when 40 boxes were available for sale on Eric's Cubicdissection online store. So when Eric recently emailed me saying that he had this one No1 box left (apparently someone had ordered it but didn't follow up with the requiste payment), I immediately bought one without hesitation. About a week or so later, the box arrived at my home. How Eric came about making the No1, which is the first in a series of more to come and why it was named "The Chris", you can read about it here.


First impression is that the No1 looks much better in the real thing than in photos. It is made entirely of Sapele with darker coloured Wenge adorning both the top and bottom of the box. The Wenge surface is "ribbed", hence apart from giving the top and bottom sides a different colour tone from the rest of the box, it also feels textured which makes handling more grippy. Dimensionally the No1 is 18.5cm long, 3.8cm wide and 3.8cm tall. Quality of construction, fit and finish is excellent and attention to detail is superb.


The object of the No1 is to open the box and remove a cigar within (yes, its a real smokable cigar under the brand Free Cuba). I would not say the No1 is difficult, but tricky perhaps. I managed to open the box within several minutes, after some trial and error pushing and sliding the panels of the box. However the mechanism which keeps the box locked is rather clever. Even after I had opened the box and examined the insides, short of ripping things apart to see more and damaging the box forever, I am still not too sure how the locking and unlocking mechanism works. There are in my solution 6 steps to opening the box completely. I say "completely" because half the steps will only get you half the box opened. You may think that you have solved the puzzle, but not yet!.....you cannot get the cigar out with only the box half-opened. Unless you deliberately bend the cigar and force it out...but I don't think that's the way Eric intended. Well I am quite happy I got it fully opened and can now open it quickly and repeatedly without a cinch.

The No1 being the first is the easiest to solve and the rest of the series will come with increasing difficulty. What I really like about it is the design of the box (having a slim long oblong shape, quite different from the traditional Japanese trick boxes) and the rather clever way it is opened. If you don't want to leave the cigar inside, you can use the No1 as a nice wooden box to hold some pens, although it is probably too short for brand new pencils. It may be expensive, but it is certainly worth the money and definitely worth acquiring.

Like Brian, Roxanne and Allard, (who have all reviewed the No1 in their respective blogs and have only positive things to say), I am also eagerly looking forward to No2!

Saturday 11 February 2012

Iso Crate

This puzzle was designed by the late Robert Rose who's other well know award winning puzzle is the Six Key Mine reviewed some time back in this blog. Measuring about 4.5cm x 4.5cm x 4.5cm, this cube puzzle is made of aluminium and anodised in gold colour. Quality of my copy is only average as there were a number of marks on the pieces and the fit and finish was really not quite up to par. My copy was produced by PuzzleMaster of Canada and sold to me by online retailer Serious Puzzles in the US.

The Iso Crate consist of 8 individual L-shaped pieces and the object of the puzzle is to "assemble" the pieces to form a cube with a hollow centre. Quality issues aside, what is unique about the Iso Crate is that the individual pieces need to be "locked" together via the use of magnets. Within each L-shaped piece are 3 round magnets, situated at the ends of the piece. The trick is the find the "like" poles of the magnets in the pieces to join them together. If you have an "unlike" pole, the pieces would simply repel each other.


While not unduly difficult, the Iso Crate still provides a fair bit of challenge as I found myself trying each piece to find the matching poles to form the cube. PuzzleMaster rates it as level 8 but I think its more of a level 7. What especially is useful in aiding the solving is that all the black magnets must not be visible on the outer surfaces, so this helps quite a bit in the orientation of the pieces with each other. Also there is one piece that has a bevelled corner so this piece can act as the reference point for the rest.

Overall pretty fun to play with as you fiddle with the pieces and find them trying to steer away from each other when the magnetic poles are mis-matched. Even as I was taking the photo of the loose pieces, I had to arrange them sufficiently far apart less some of the pieces would attract and stick together. Pity my copy is let down by the less than satisfactory quality.

Wednesday 8 February 2012

Cross Threaded

This is my first bolt and nut puzzle (not counting my Hanayama Cast Nut Case reviewed earlier in this blog) and it came from Mr Puzzle Australia. Measuring 8.5 cm long with a bolt head 3cm across, the Cross Threaded is big, heavy and a real handful. Made of brass with its patina finish giving it an aged look, this bolt puzzle really looks like a genuine part from some hugh machine. My copy is from the Enigma Series and overall quality is good.


The object of the puzzle is of course to remove the nut from the bolt. It is a tricky puzzle. Initially when I first started playing with the puzzle, I could not even move the nut a bit. It was screwed tight to the point where I really thought the parts were jammed. I did not expect that the nut could be unscrewed in the normal fashion (afterall, it can't possibly be so easy right?, given that it has a difficulty level of around 7). But I did the obvious anyway, trying to unscrew it, in both directions. Nevertheless the nut refused to budge.


I tried some of the tested methods like as tapping, banging and shaking, thinking that these may help and lo and behold, after knocking the bolt a couple of times on my puzzle table, the nut moved ever so slightly and here is where I suddenly discovered the solution to removing the nut. Once I had separated the nut from the bolt, I realised that the way the nut is kept in place is actually quite simple but clever. TIP: no force is needed to solve this puzzle.

Overall a nice tricky little bolt puzzle and as stated by Mr Puzzle Australia, it is "hard but not extreme".....I agree. If you are into bolt and nut puzzles, well worth acquiring since it is also good value for money.

Saturday 4 February 2012

Platypus

This nice little interlocking animal puzzle came from Mr Puzzle Australia. Made by Australian jewellery designer Kathy Bass, who has produced four other animal puzzles in the series, these have been termed as "the poor man's Berrocals". Just in case you have never heard of who Miguel Berrocal is and his amazing "torso" puzzles, check out the website featuring the man and his work.


The Platypus is not large, measuring about 8.5cm from nose to tail and 4.5cm at its widest from left webbed forefoot to right webbed forefoot. It is handmade of pewter and the surface finished with bronze oxide. Mr Puzzle Australia informs me that a real platypus in the wild is of a similar body colour. My copy is very well made and quality, fit and finish is excellent. Well I suppose one cannot expect anything less, since this is meant to be an ornamental display piece.


Consisting of 6 interlocking pieces, the object of the puzzle is to take the Platypus apart. This is a relatively easy process and the moment you remove the first piece (and it is not hard to determine which part of the Platypus is the first piece), the rest of the individual pieces can be removed pretty easily. Like many take-apart puzzles, there is still a sequence of steps here to follow, so if you happen to try to remove the wrong piece, nothing will come apart. There is, however no need whatsoever for a computer software such as BurrTools to find the solution. Assembly is everything done in reverse (but a bit more tricky) and the Platypus becomes whole again.

Overall, a very nice and well-crafted display item for the desk or mantle, which also does double duty as a mechanical puzzle.